Animatron Studio Review 2022: Is It Worth The Price?
Animatron Studio
Oppsummering
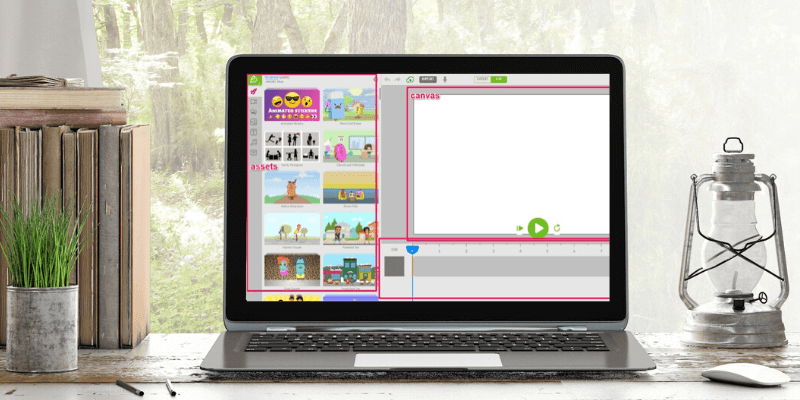
Animatron Studio is a web-based program that you can use to create animated videos in several styles, with content ranging from business to education to hobbyists. It offers an interface that can adapt to your needs with simple and complex layouts, tools not often found in competing programs, and a fair-sized content library.
Additionally, it offers HTML5 exporting formats and integrations for Google AdWords and DoubleClick. I would recommend the program to anyone that wants to dip their feet in some animation and video creation.
Hva jeg liker: Lite vs Expert mode allows users of all experience levels. Expert timeline is full-featured and easy to use. Ability to create your own graphics in the program, rather than 3rd party software.
Det jeg ikke liker: A bug sometimes causes search bars to disappear. Poor voiceover/voice recording functionality. Unbalanced assets – lots of music, video footage, and sets, but lacks general props.
Innholdsfortegnelse
Hvorfor stole på meg for denne anmeldelsen
My name is Nicole Pav, and I have reviewed a variety of animation programs for TechFewer. I know that the internet is full of fundamentally flawed reviews. They’re biased, or don’t bother looking beyond the packaging. That’s why I make sure to go in-depth, experiment with features, and make sure that what’s written is always my own opinion from my own experience. I know that it’s important to be sure of what you’re signing up for, and everyone wants to know if a product is as good as the advertising.
You can even see proof that I experimented with Animatron — I’ve included the email from my account confirmation, and all photos included in this review are screenshots from my experimentation.
Detailed Review of Animatron Studio
Animatron is actually two products, one of which is further split into two modes. The first product is Animatron’s wave.video, which is more of a traditional video editor. You can add clips, text, stickers, stock footage, and more to make a personal or marketing video. However, we won’t be reviewing wave in this article.
Instead, we’ll be focusing on Animatron Studio, which is a web software for creating animated videos in various styles for purposes ranging from education to marketing to hobby pursuit.
This software has two main modes: Expert og Lite. Each has a different layout and slightly different ways of doing things, so we’ll try to cover the most important aspects of both. The idea though, is that anyone can get started with Lite mode, while more advanced users can create custom animations in Expert mode.
Lite-modus
Dashboard og grensesnitt
In Lite mode, the interface has four main sections: assets, canvas, timeline, and sidebar.
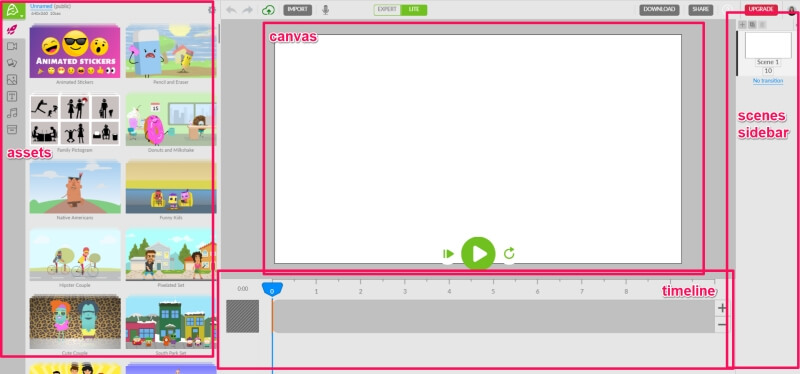
The assets panel is where you’ll find items to add to your videos, like backgrounds, text, props, and audio. The canvas is where you drag these items and arrange them. The timeline lets you manage each asset, and the sidebar lets you encapsulate those into scenes that can be easily rearranged.
You may also notice some buttons along the top, such as undo/redo, import, download, and share. These are just general toolbar icons, like any other program.
Eiendeler
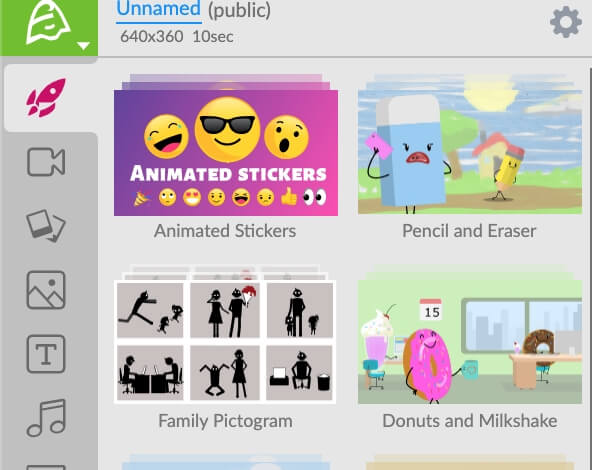
In Lite mode, assets are divided into a few categories: animated sets, videos, images, backgrounds, text, audio, and project files. Note: Photos, Videos, and audios are only available to paid subscriptions.
Animated Sets: Collections of related graphics such as background and characters that often have premade animations.
Videos: Clips of live action or rendered footage that does not have the animated style.
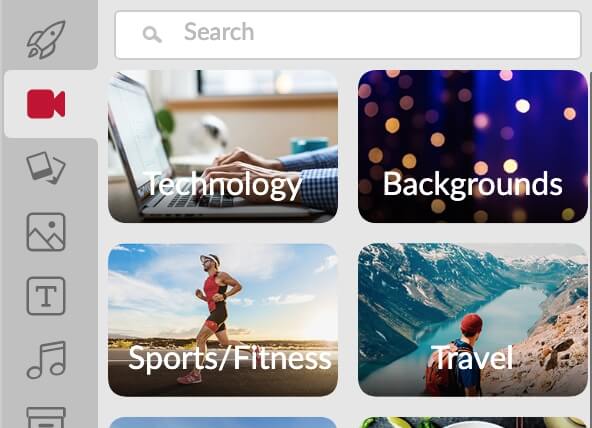
Images: Footage from all the same categories as the video clips, but still frame and unmoving. The images are either of real people or rendered & abstract. They do not have an animated style.

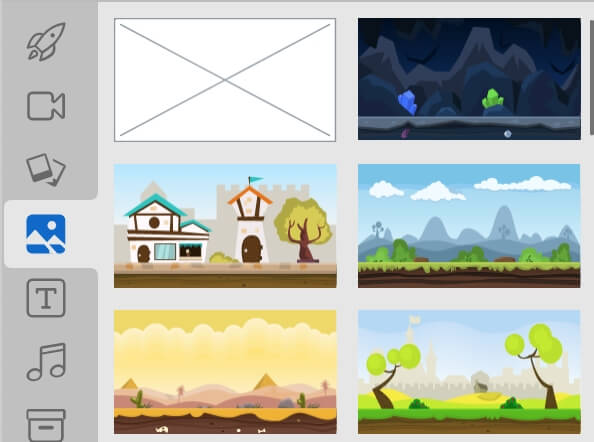
Backgrounds: These are large images or artscapes that can be used as a backdrop to set the stage of your video. Most are in the animated content style rather than a real life depiction.
Text: This is your basic tool for adding any kind of words to the video. There are tons of default fonts installed, but if you need a specific one, you can use the arrow point to a box button to import your own (should be the .ttf file type). There are options for changing the font weight, alignment, size, color, and stroke (text outline).
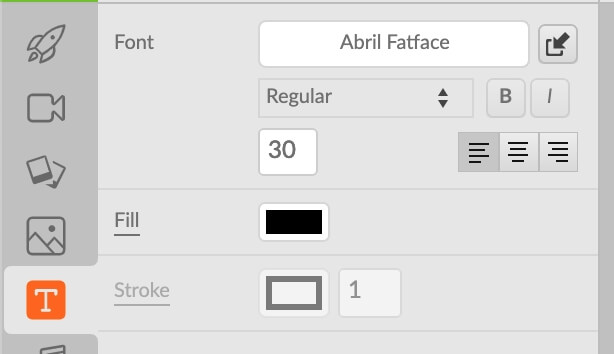
When you upload your own fonts, you can access them by clicking on the font name in the text tab, and then going to lastet opp.

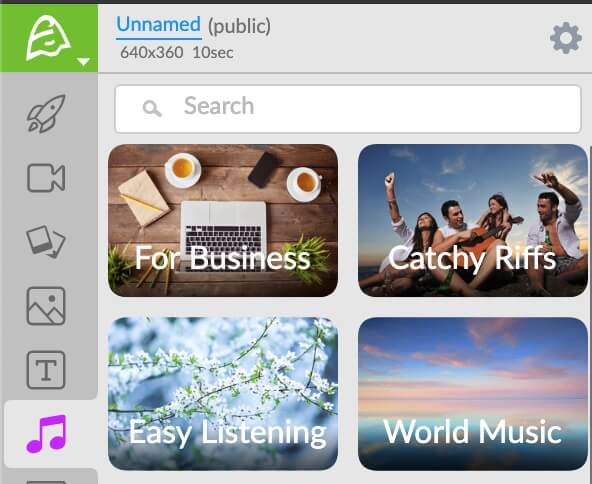
Audio: Audio files include background music and sound effects. These are categorized into themes like “business” or “relaxing”. You can also import your own music files using the Import button in the toolbar.
Project Library: This is where any assets you upload yourself will live. To import files, you can click on the import button in the toolbar. You’ll see this window:
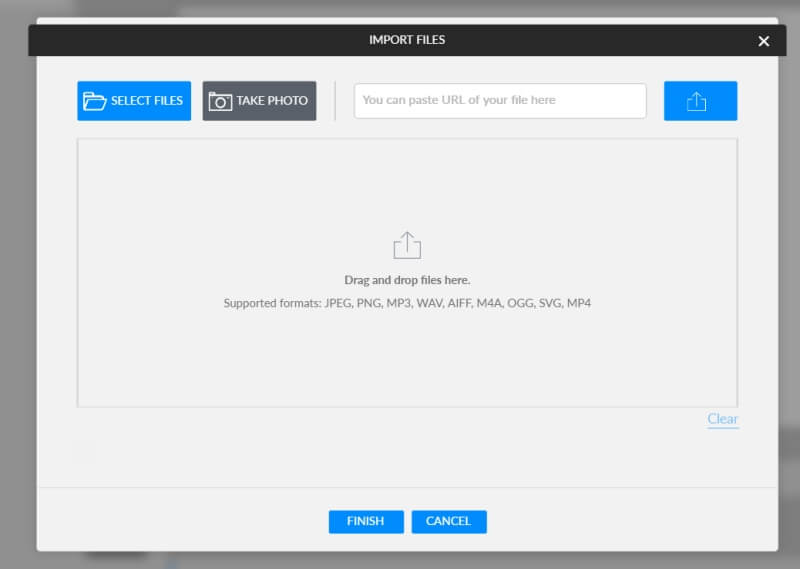
Simply drag and drop your files in, and they will be added to the project library tab.
Overall, the assets library seems fairly robust. There are lots of animated sets and free footage, tons of audio files, and plenty to browse. However, I did have several complaints.
First, for a while, I thought there was no search tool for the animated sets or background tabs. After contacting support and asking them about it, the issue turned out to be a bug (and when I logged back into the software the next day, it didn’t affect me anymore). However, it’s strange that a web-based tool would have issues on Chrome, which is usually the most well-supported browser.
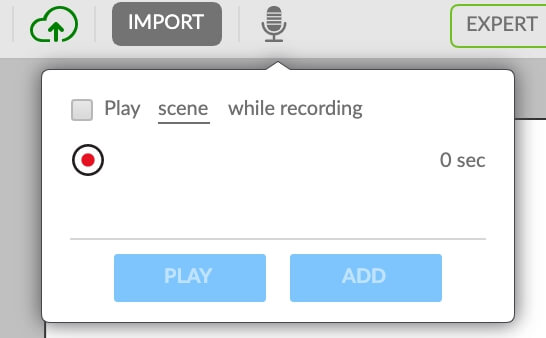
Second, the built-in voiceover function is severely lacking. The microphone icon is in the toolbar and offers only a recording button- no box for prompts or even a recording countdown. Furthermore, once you’re done recording and add the clip to your scene, it isn’t stored anywhere else- so if you accidentally delete it, you’re going to need to record it again.
Lastly, I found that Animatron lacked a standard “props” library. For instance, in most animation programs you can search “television” or “carrot” and see several graphics in different styles to pick from.
However, props in Animatron appear to be limited to the style of their set. I tried searching “computer”, a common prop, but although there were many results none were in the whiteboard sketch style. All seemed to be various cliparts or flat designs.
Templates/Sets
Unlike many web programs, Animatron does not have a traditional template library. There are no pre-made scenes that can be simply dropped into the timeline. The closest thing you’ll find is the animated sets.
These sets are collections of objects that can be placed in a scene together. They are more flexible than templates, because you can pick what to include or exclude, but require more effort to put together.
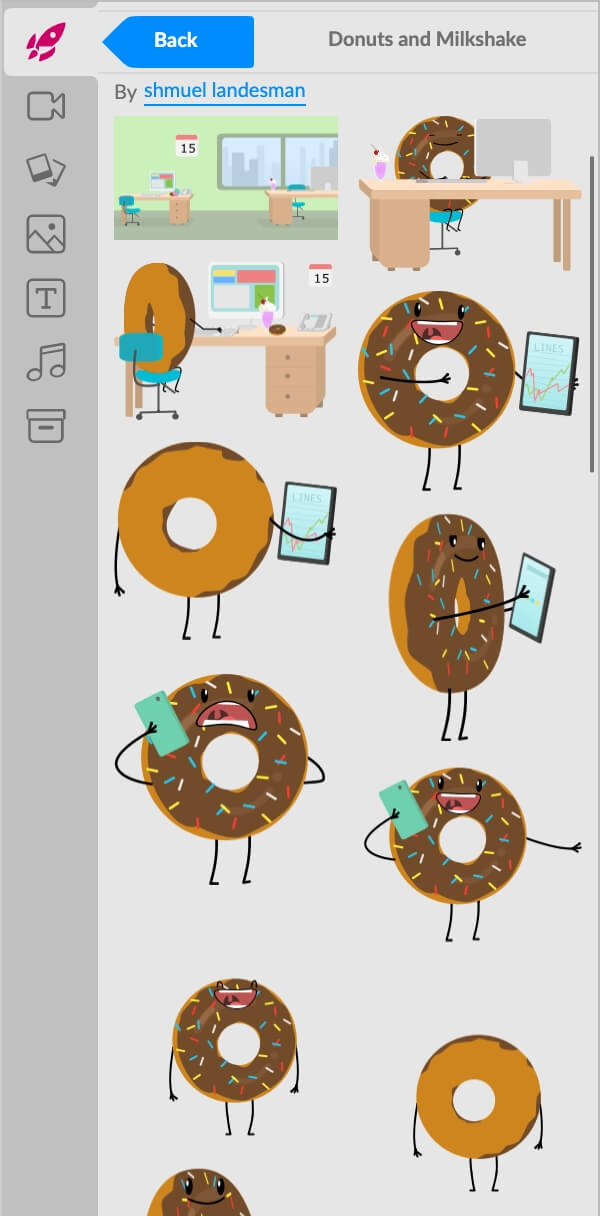
Overall, it’s nice that you can mix and match, but it would be helpful to have a few pre-made templates.
Tidslinje
The timeline is where everything comes together. You add your assets, music, text, and more, then rearrange it to suit your needs.
Located at the bottom of the screen, the timeline will by default show any audio that has been added in the form of an orange wave pattern. However, you can click on any object to highlight it in the timeline.

Items can be rearranged by dragging them, and you can add transitions by clicking the + at either end.

If two items on the timeline overlap, only one icon will appear, which you can click on to select only a single item.
The plus and minus signs at the end of the timeline can be used to add or subtract time from the scene.
Scenes Sidebar
The scenes sidebar shows you all the scenes in your project, allows you to add transitions between them, or duplicate content. You can add a new scene by pressing the + button at the top.
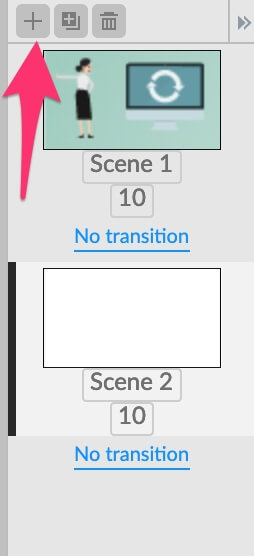
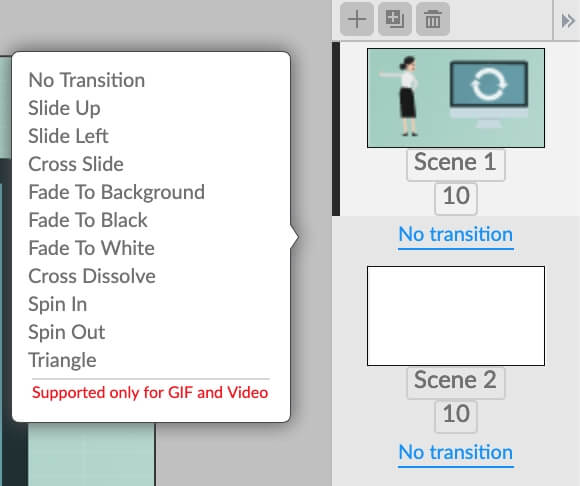
To add a transition, just press the blue “no transition” button. You can choose between a few options.
Lagre og eksporter
When you’re satisfied with your video, there are a few ways to share it.
The first way is “share”, which will let you share the video as embedded content, a link, a gif, or a video.
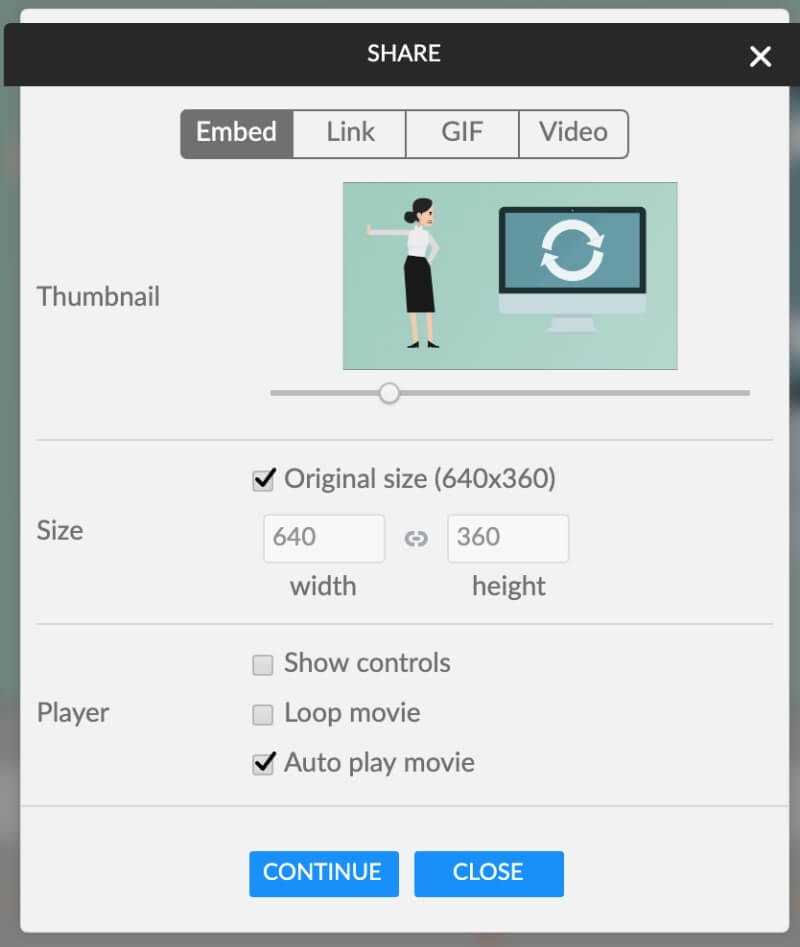
When you press continue, you’ll be asked to link a Facebook or Twitter account. Oddly, there doesn’t appear to be an option for linking to YouTube, which is normally available on video creation platforms.
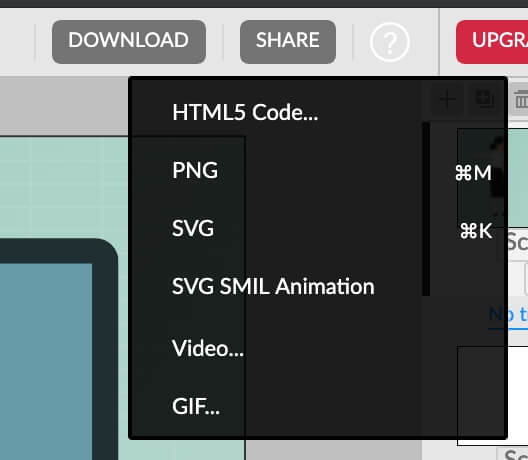
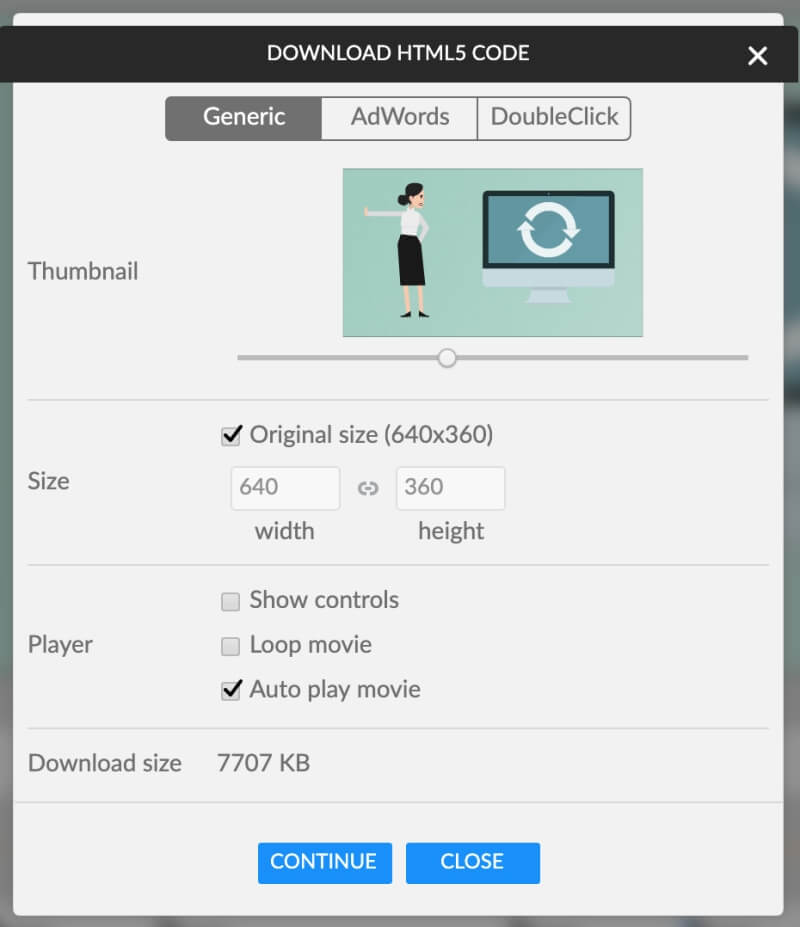
Your other option is “download”. Downloading will create a file in either the HTML5, PNG, SVG, SVG Animation, Video, or GIF formats. This means you can download stills of your video, not just the moving parts. This is useful if you want to create a presentation by making non-animated scenes.
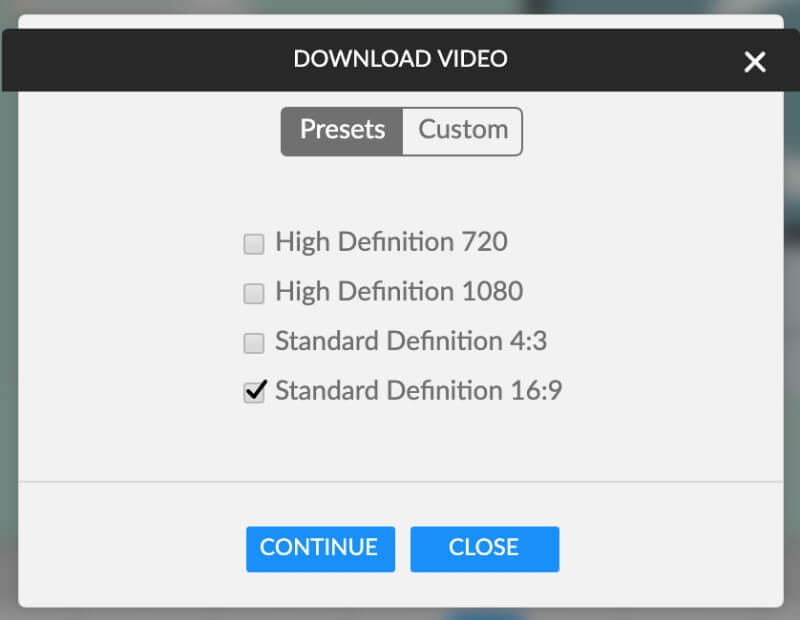
When downloading as a video, you can choose between some presets or making your own dimensions and bitrate.
GIFs also allow the option to choose dimensions and a framerate. However, all download methods except PNG, SVG, & SVG animation will be limited to the free plan. For instance, if you attempt to download a GIF without paying, you will be capped at 10 fps, 400 x 360px, and have a watermark applied. HTML downloads & video downloads will have a watermark and outro screen added.
One of Animatron’s most unique features is exporting in the HTML5 format. You can download the generic code, or you can tailor it for AdWords and DoubleClick with aspects such as a click-through target link.
Expert Mode
If you feel like you’re a little bit more advanced, then Animatron offers Expert view. You can switch by clicking in the toolbar:

Once you’re in expert mode, you’ll notice there are actually two different tabs: design and animation. These two tabs have the exact same tools, but there’s an important distinction.

In design mode, any changes you make to an object will be static, which means it will affect every frame of the object. In animation mode, any changes you make will be keyframed, and automatically appear in the timeline.
For example, if I change the position of an object in design mode, then that object will simply appear in the new position and stay there. But if I move the object in animation mode, a path will be created and during playback, the object will move from the old to a new location.
You can read more about the difference her..
Dashboard and Interface
The interface for design and animation modes is the same, only the design mode is blue while the animation mode is orange. We’ll demonstrate animation mode here since it’s the default choice.
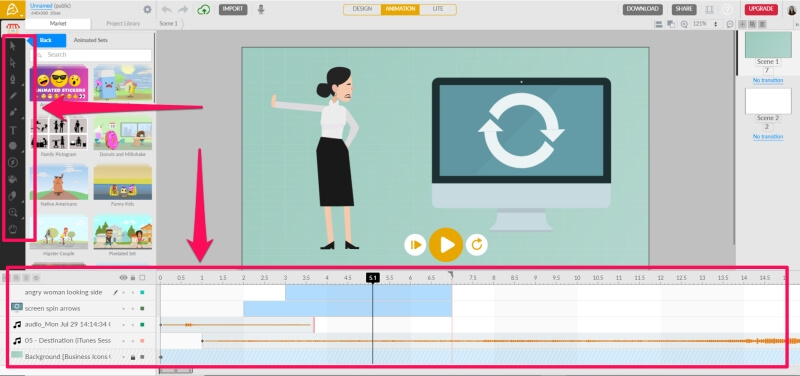
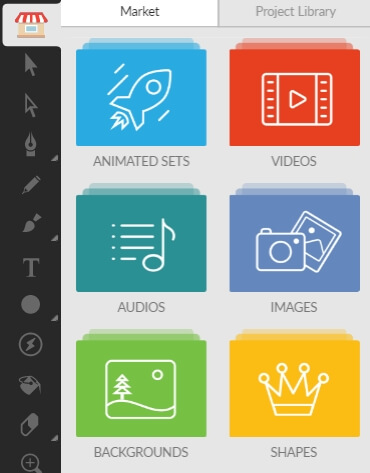
The primary difference between Lite and Expert mode is a revamped toolbar and an expanded timeline. All other objects remain in the same place. Instead of having individual tabs for sets, backgrounds, etc, all premade assets are found in the market tab. Then, tools are available below.
verktøy
There are lots of new tools in expert mode, so let’s take a look.

Selection and Direct Selection: These tools let you select objects from the scene. Using the former, you can resize an object, but the latter will only allow you to move it.
Sometimes when using the selection tool, you may see this message:
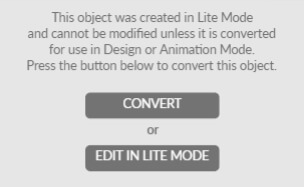
Generally, you should have no issue with either option and pick based on how complicated you need the behavior of that item to be.
- Pen: The pen is a tool for drawing vector graphics.
- Pencil: The pencil is a tool for sketching your own graphics. Unlike the pen tool, it won’t automatically create beziers, although it does smooth your lines for you.
- Brush: The brush tool is like the pencil- you can create free-form drawings. However, the brush allows you to draw with patterns, not just solid colors.
- Text: This tool appears to be the same in Lite and Expert mode. It allows you to add text and customize it.
- Shapes: Allows you to easily draw different polygons such as ovals, squares, and pentagons.
- Actions: If you’re making an ad, this is where you can add events such as “open url”, “adwords exit”, or “doubleclick counter”.
- Bucket: Fills an area in with color.
- Eraser: Remove parts of an object, image, or drawing.
- Zoom: Enlarge or shrink the view.
- Pan: The hand tool can be used to pan across the screen, which is most useful when you are somewhat zoomed in.
Animatron does a good job providing the tools you would need to start constructing your own graphics and animations. Each of the art tools has options like stroke, opacity, color, and weight, while the selection tool will let you further tweak details like position and orientation.
Tidslinje
In expert mode, the timeline is more advanced. For starters, you can expand its height to make things easier to work with, and every object has its own layer.

Rather than plus and minus buttons to determine your scene length, you can adjust the red bar to determine how long it should be.
You’ll also notice that some items have small black diamonds in their timeline- these are keyframes. To create them, simply move the black slider to the time you want in your scene. Then, adjust a feature of your object. A black diamond will appear. When you play your video, a transition between the initial state and the keyframe will be created- for example, a movement from one side to another.
For extra fine-tuning, you can even expand an object with keyframes and tweak the specific changes.

For example, this graphic experiences translation, opacity, and scaling. I can change these individually when I expand it in the timeline.
The colored square (orange shown here) will hide or show an item from the scene.
You may also notice a few buttons on the top left of the timeline. These are to add layers, duplicate, trash, and combine layers. You can use them to simplify your workflow.
Scenes, Exporting, & Etc.
In expert mode, many features are identical to those of lite mode. You can still add assets and scenes the same way as before- drag and drop. The scenes sidebar doesn’t change and offers the same transitions. Additionally, all export and sharing options remain identical as well. The one main difference is that all assets are now in the market tab instead of their own. However, it’s all the same content.
Årsaker bak vurderingene mine
Effektivitet: 4/5
Animatron ended up being a lot more capable than I anticipated. The Lite mode is definitely on the more introductory side, but the expert timeline is the most advanced I have yet to test in a web-based tool, and the ability to create your own assets without another program really helps simplify things.
I did feel that it was a little held back by things such as the search bar bug I experienced, and the lack of a comprehensive prop library, particularly for software that advertises making whiteboard videos.
Pris: 4 / 5
I was very satisfied with the pricing structure for this software. The free plan really lets you experience nearly everything, and assets are not locked in tiers – once you pay, you have access to all of them, not just some. Instead, you’ll be charged for additional storage space, publication rights, or higher export qualities.
At around 15$ a month for the Pro plan and $30 a month for the Business option, this seems like a good deal for a capable software.
Brukervennlighet: 3 / 5
Animatron is fairly easy to use, although I did have some complaints. I like that there are two modes, allowing people to get used to the program and then expand their horizons. It’s easy to pick up regardless of your goal, and you can very quickly make an introductory video. However, some things are unintuitive or difficult.
For instance, if I want to change the background to a solid color, I need to go to project settings- there are no solid backgrounds in the background tab. The overlapping timeline objects in lite mode can also be frustrating to work with, but the expert timeline is super simple by contrast, especially since you can expand it.
Støtte: 4/5
Interestingly, Animatron reserves email support for paid plans, so I reached out to their live chat instead for help when I couldn’t figure out why there were no search bars.
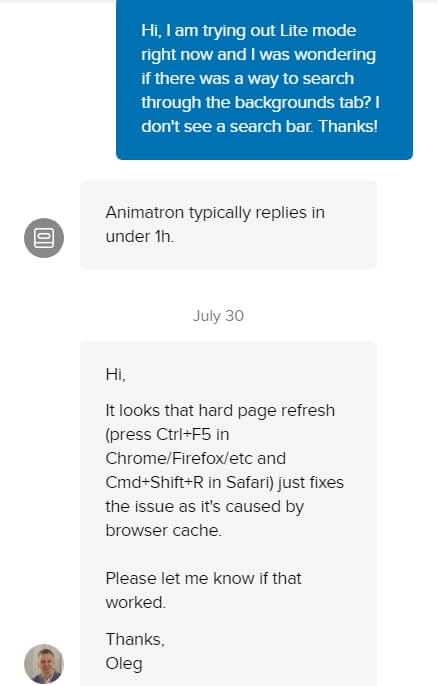
They gave me a clear and informative answer, but it definitely wasn’t in an hour like the bot claimed – I messaged them on a Monday afternoon, and did not receive a response until 2 am in the morning on Tuesday. This could perhaps be explained by time zones, but if so they should post business hours.
There’s also a community forum if you would rather find support from peers, and an extensive library of FAQ documents and videos.
I docked one star for the slow live chat experience because they didn’t live up to their own expectations, but otherwise, the support seems pretty robust and gives you plenty of options.
Alternatives to Animatron
Adobe Animate: If you really enjoy working with the animations in the expert timeline and want more power, Adobe Animate is a good next step. It’s a professional-level program with a steep learning curve, but offers an expansion of things you can experiment with in Animatron. Read our full Animate review.
VideoScribe: For a focus on whiteboard animation, VideoScribe is a good choice. They focus specifically on the whiteboard style, and offer a simpler platform than Animatron for making your videos. It may be a better fit if you’re creating educational or only whiteboard content. Read our full VideoScribe anmeldelse.
Moovly: for editing video rather than creating it entirely from scratch, Moovly is a good web-based option. You can combine the aspects of animation like props and templates with live action footage to make your videos, and it has a similar advanced timeline. Read our full Moovly anmeldelse.
konklusjonen
To say it simply, Animatron is an all-around good program. It fills a niche for business users that will appreciate the marketing content and ad integrations, while allowing new users or hobbyists to play around with the program for free. Despite some complaints, it is very capable and I would recommend the program to anyone that wants to dip their feet in some animation and video creation.
So, do you find this Animatron review helpful? Share your thought below.
Siste artikler